How Are Pajamas Manufactured? A Step-by-Step Guide
When you are planning a pajama collection, it is easy to picture the finished set: the fabric, the color, the shape of the collar. How those details become a complete order is a little harder to see, especially if you have not worked with a factory before.
The pajama manufacturing process takes that design through pattern making and sampling, fabric preparation, cutting, sewing, finishing and packing. At KoalaPurr, we also develop the size range, coordinate any printing or embroidery, and check the garments against your approved design.
Step 1: Confirm the Design and Product Specifications
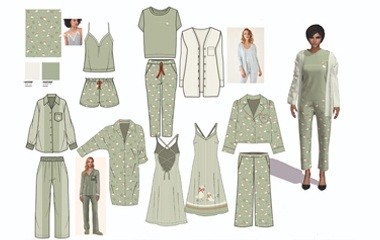
Before making a pattern, our development team works with you to define the pajamas you want to produce. That means working through the style, fit, fabric and measurements, along with details such as pockets, piping, buttons and the waistband.
A clothing tech pack helps bring this information together. You can also begin with sketches, reference photos or an existing garment, then work with us to develop the specifications.
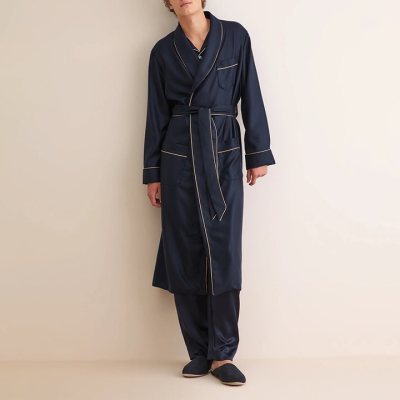
For example, a picture may show contrast piping around a collar, but our sample makers still need to know its width and color.
Step 2: Source and Prepare the Fabric
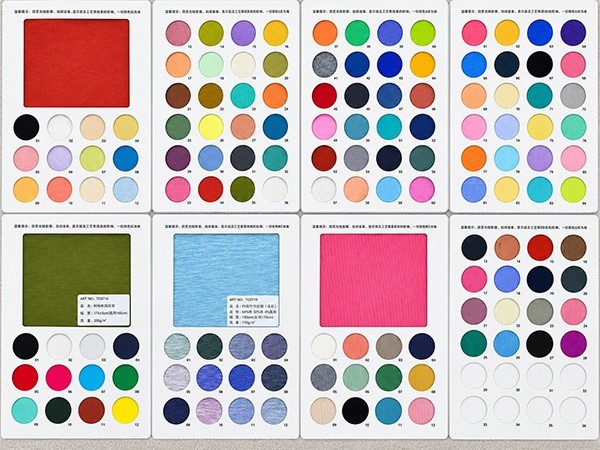
With the design direction in place, we can look for fabric that gives your pajamas the intended feel and shape. A crisp cotton poplin will hold a button-front silhouette differently from a soft modal jersey, so fabric selection and fit development need to work together.
We review the material against the composition, construction, weight, color and finish agreed with you. When production fabric arrives, incoming checks also help identify visible defects and shade differences before the fabric reaches the cutting table.
Wash testing shows how the material changes after laundering. Because fabric construction and processing can both influence shrinkage, the results help our pattern maker allow for dimensional changes.
Step 3: Make the Pattern and Approve the Sample
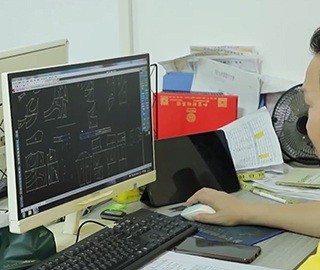
Our pattern maker now translates your design into the individual pieces needed to build the pajamas, from the body and sleeves to the collar, pockets and trouser panels.
This is where the fit begins to take shape. The chest measurement is only part of how a top feels; the armhole and sleeve shape also affect movement. In the pants, the rise and the way room is distributed around the hips influence comfort when sitting down.
Our sample makers sew these pieces into a garment for you to try on and review. During custom pajama sampling, we use your feedback to adjust the fit and construction, then record the approved changes in the pattern and specifications.
Step 4: Grade the Sizes and Plan the Marker
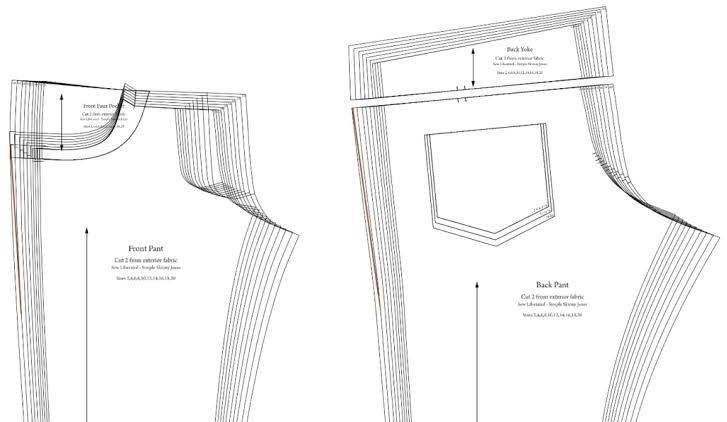
Once you approve the base fit, we develop the pattern into the other sizes in your order. This is called size grading. Our pattern maker adjusts the relevant measurement points according to your size specification, rather than simply enlarging the entire shape by one percentage.
Next comes the marker, a layout showing how the pattern pieces will fit across the usable fabric width. Good marker planning helps our cutting team use the fabric efficiently while keeping the pieces in the correct direction.
The print can affect this layout too. A floral design with a clear top and bottom needs its motifs facing the right way, while stripes may need to meet at selected seams.
Step 5: Spread and Cut the Fabric
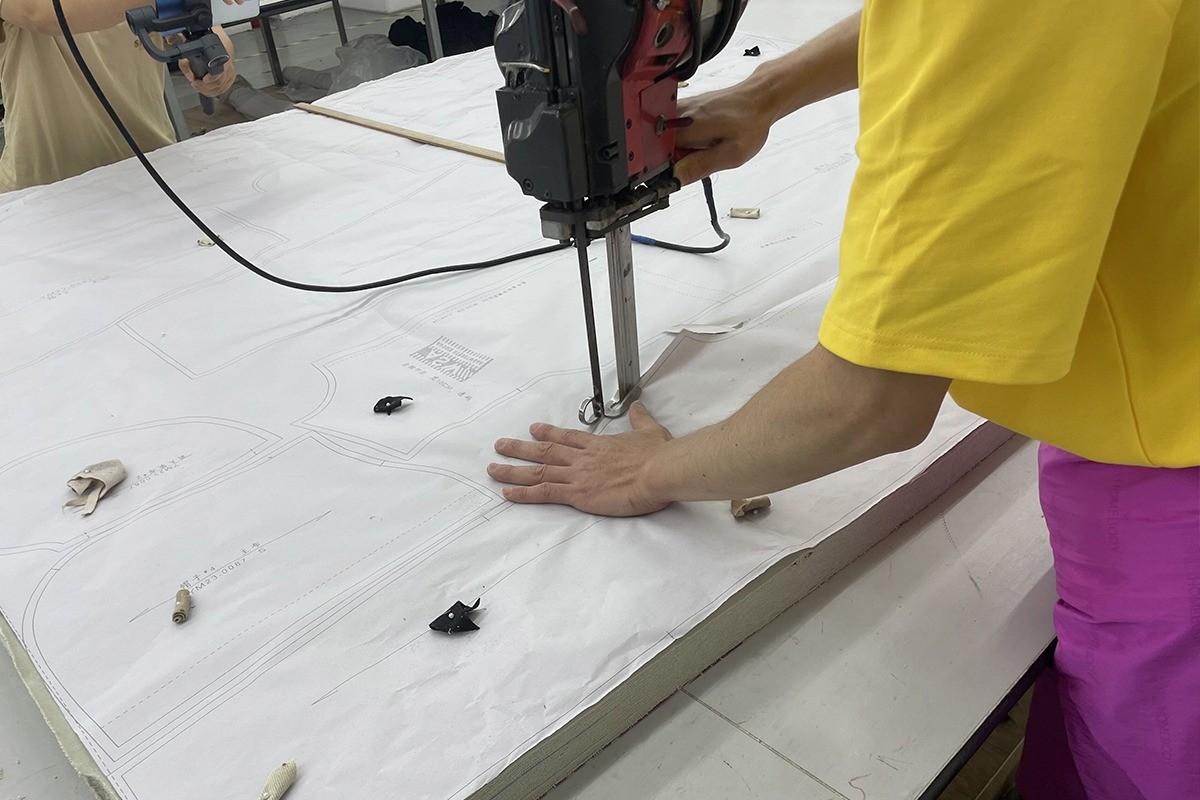
Once the patterns and fabric are ready, our cutting team prepares the fabric for the cutting table. Knitted and stretch fabrics may first need time to relax after being unrolled, allowing tension from rolling and handling to settle before the pieces are cut.
We then spread the fabric in flat, even layers, taking care not to stretch it as we work. Several layers can be cut together, although the height of the lay needs to suit the material and the cutting equipment. Slippery satin, for example, needs careful alignment to keep the layers from shifting.
With the fabric in place, we cut the panels according to the marker. Keeping those shapes accurate makes the next stage easier: collar pieces line up, sleeve edges meet the armholes, and trouser panels join as intended.
As the pieces come off the table, they are marked and bundled by size, color and shade group for sewing.
Step 6: Add Printing or Embroidery Where Required
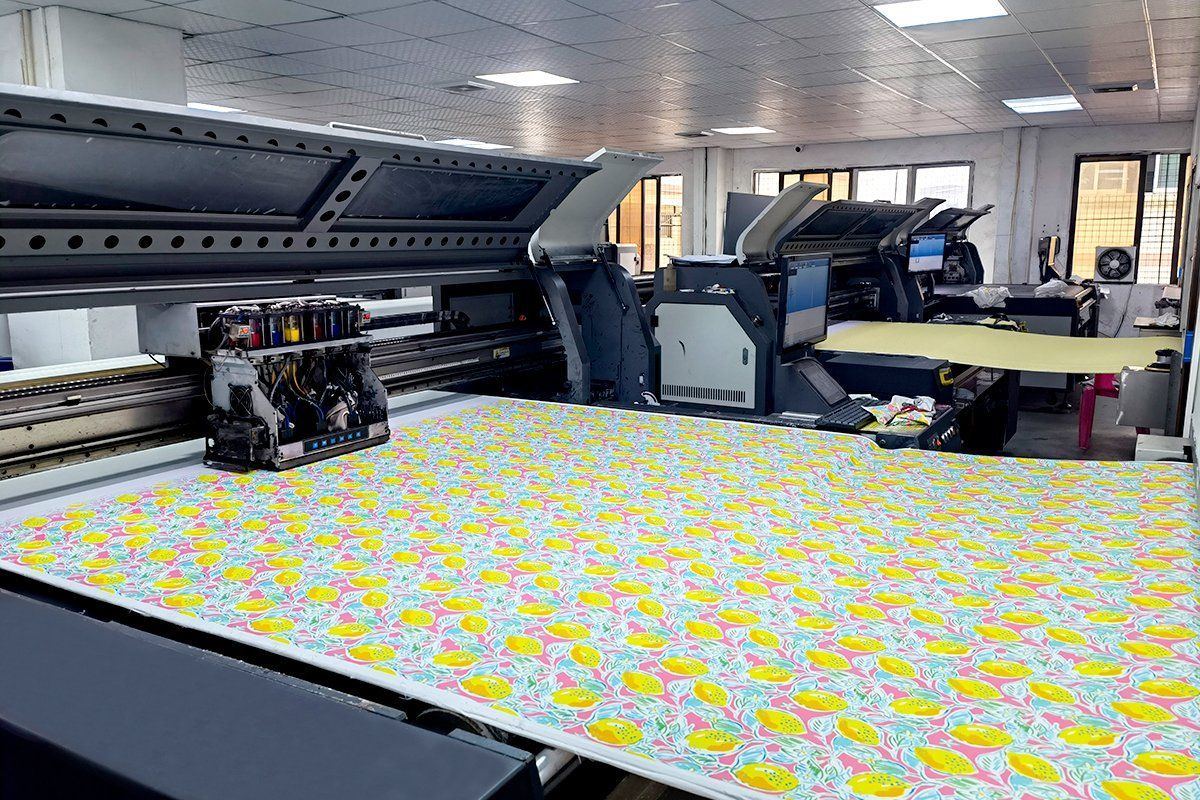
The printing method chosen for the pajamas and the position of any embroidery determine where decoration fits into production. This work can happen before cutting, on cut panels or on finished garments.
An all-over pattern is commonly printed onto the fabric before any garment panels are cut. A placement graphic may go onto a separate panel or a finished garment. For an embroidered chest pocket, working on the pocket before attaching it can make the area easier to access.
Step 7: Sew and Assemble the Pajamas
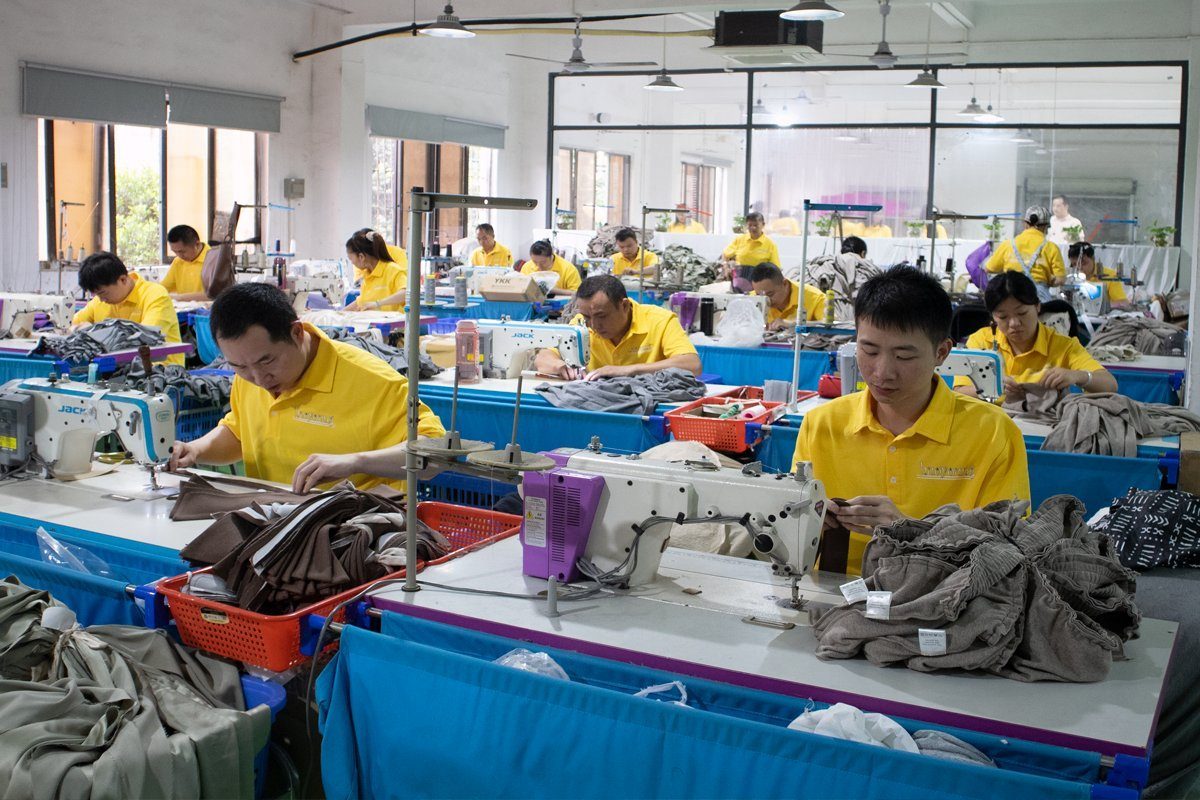
Our sewing team brings the separate panels together, following the construction of your approved sample. Some components are prepared on their own before they are joined to the rest of the garment.
For a woven button-front top, this may mean making the collar and pocket, preparing the front opening and adding piping before completing the body and sleeves. The pants follow their own assembly sequence, including joining the leg panels, making the waistband, inserting elastic and finishing the hems.
Knitted pajamas need a sewing approach that allows the fabric to move comfortably. Overlock seams are commonly used to join panels, while coverstitching is often used for hems. We adjust the stitching, thread tension and fabric feeding to help the seams lie smoothly without restricting the material.
Step 8: Finish and Inspect the Garments
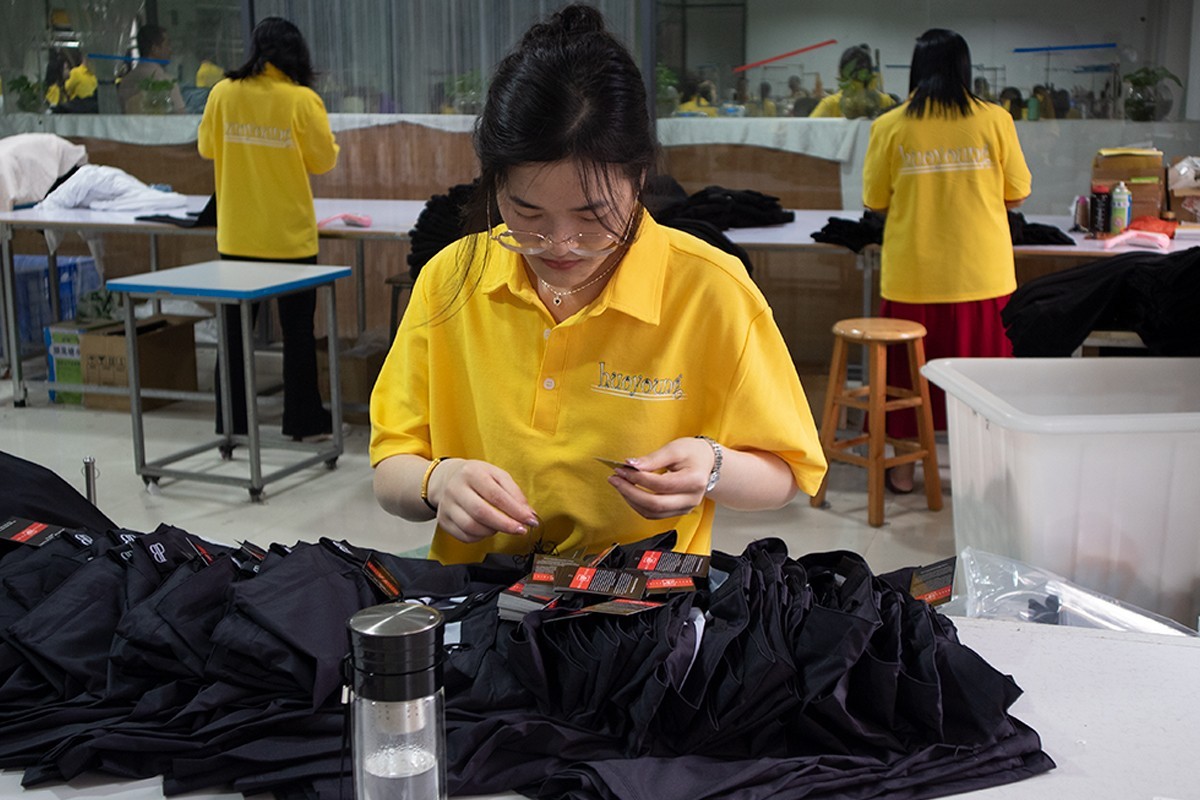
Once sewing is complete, the garments move to finishing. We trim loose threads and use suitable pressing or steam finishing to smooth the seams and present the intended shape. The fabric determines how much heat, pressure and handling it can take.
During the final quality inspection, we compare the garments with your approved sample and specifications, covering:
- Measurements: chest width, garment length, waist, rise, inseam and other specified points.
- Sewing: skipped stitches, open seams, puckering and uneven hems.
- Construction details: collar shape, pocket position, piping and waistband assembly.
- Appearance: stains, shade differences and print or embroidery placement.
- Trims and labels: button attachment, buttonhole function and the correct brand, size and care labels.
Quality checks also take place during material preparation, cutting and sewing; this review covers the completed garments.
Step 9: Match, Fold and Pack the Sets
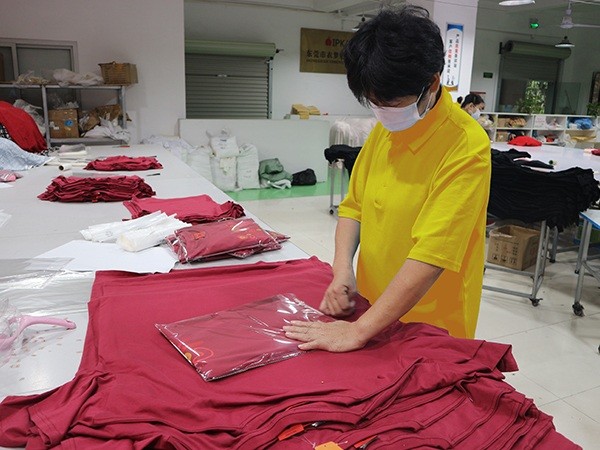
A finished top and a finished pair of pants still need to become the correct set. Before folding, our packing team checks that the pieces match the style, size and color specified in your order.
We also check labels, hangtags, barcodes and packaging against your packing instructions. The pajamas can then be folded into the agreed bag, paper sleeve or box.
Before dispatch, we check the carton quantities and size assortments.
What Should You Consider Before Bulk Pajama Production?
Alongside the garment itself, a bulk order involves decisions about quantities, costs and delivery. Working through these details gives you a clearer picture of what you are ordering and how it fits your launch plan.
Quantities by Size and Color
Break the order down by style, color and size. If you expect to sell more medium and large sets, for example, that mix needs to be reflected in the production quantities. A simple order table gives us the numbers needed to plan cutting and packing.
What the Quotation Includes
Check whether the quoted price covers fabric, trims, printing or embroidery, labels and packaging. Sampling, custom-print setup and freight may be priced separately, so compare quotations on the same basis. This also makes it easier to see how a different fabric or packaging choice would affect your budget.
Measurement and Quality Standards
Agree on how key measurements will be taken and what variation is acceptable. For an elastic waistband, for example, a relaxed measurement and a stretched measurement describe different aspects of the fit. Recording the measurement method and tolerance gives both you and our team a shared basis for reviewing the finished garments.
The Delivery Milestone
Make sure the date in your schedule refers to a specific milestone: goods ready for inspection, ready for dispatch or delivered to your warehouse. Final inspection, transport and customs clearance need to fit between production completion and the date you want stock available for sale.
Frequently Asked Questions
How long does pajama manufacturing take?
At KoalaPurr, sample development generally takes 7–14 days, while bulk production generally takes 24–30 days, depending on the project. Custom material development and additional sample revisions can extend the schedule. Shipping and customs clearance need a separate allowance when estimating delivery.
What is the minimum order quantity for custom pajamas?
Our standard MOQ is 100 pieces per style and per color.
Do I need a sample in every size?
Not every project needs a physical sample of every size. A size set, meaning samples in selected or all sizes, is useful when introducing a new size chart or extending the range beyond an established fit. The sizes to review should be agreed during development.
Can I change the design after bulk production starts?
Changes may still be possible, but the work required depends on how far production has progressed. Changing a pocket position before cutting is different from resizing panels that have already been cut, which may require new fabric and recutting.
Conclusion
When discussing a pajama order with a manufacturer, look for a plan that connects your design to specific materials, sizes and production milestones. That gives you a practical basis for comparing proposals and deciding whether the project fits your launch plans.
If you are developing a pajama collection, share your reference style, fabric preference and size requirements with KoalaPurr. We can help you work through the details and develop a sample and production plan.